From Stitches to Masterpiece: Step 3- Ironing
So, you've cleaned it, blocked it, dried it. Now you get to iron it!
Words of Warning
This step is the biggest step that will set your project in ways that you cannot un-do. If you skipped the cleaning step, and there are some oils from your hands, stains from spills, or just tiny bits of dirt you can't see, then this step will SET THEM IN!!! Once ironed (or steamed if you choose to block it that way), you will NOT be able to get out something that should not be there simply by re-washing.
And even if other people can't see it, you'll know its there. You'll see it and realize that if you'd just taken a tiny bit of extra time that you could have had perfection. So if you've skipped the steps until now- I highly suggest you go back to Lesson 1 and clean your project. Trust me, its worth it not to cringe inside every time you look at something.
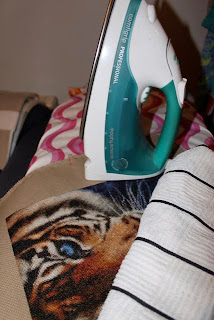
Things You'll Need (as in the above photo)
Your project- preferably cleaned and blocked already
Iron
Ironing board or surface padded to allow ironing
Clean Towel
The How-To
You don't want to iron directly onto your project as you want to avoid any possibility of making the threads/fabric discolour.
Set your iron to "Cotton" setting or high, but not highest if it doesn't distinguish by fabric type.
Run your towel under tap water and squeeze out excess water so that it is slightly damp.
Lay your project, on the ironing board and lay the towel on top of it.
 Iron on top of the damp cloth, until its dry, and then iron some more.

Check your project at this point and see how it looks. If it needs more ironing, wet your towel and repeat the process.
And now to show you why you've done all of this. Here is a close up from the Tiger project.
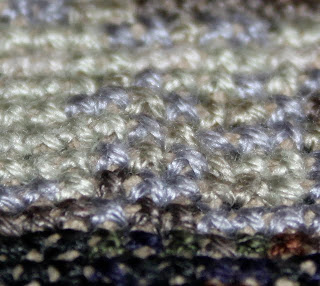
As you might be able to tell, its a bit out of shape. This is how it looks after the blocking process- it was a lot worse before! Blocking and ironing work to loosen the tension of the fabric and thread just enough to relax it into better shapes.
Here is the same spot, after ironing.
 You can see now how all the stitches are laying flatter and the whole area doesn't look quite so bumpy. The blocking and ironing have aligned the stitching so its nice and easy looking.
The overall effect of this is the entire thing looks like its done by a pro! My project stitches look like I never flubbed up, had perfect tension, and am awesome.
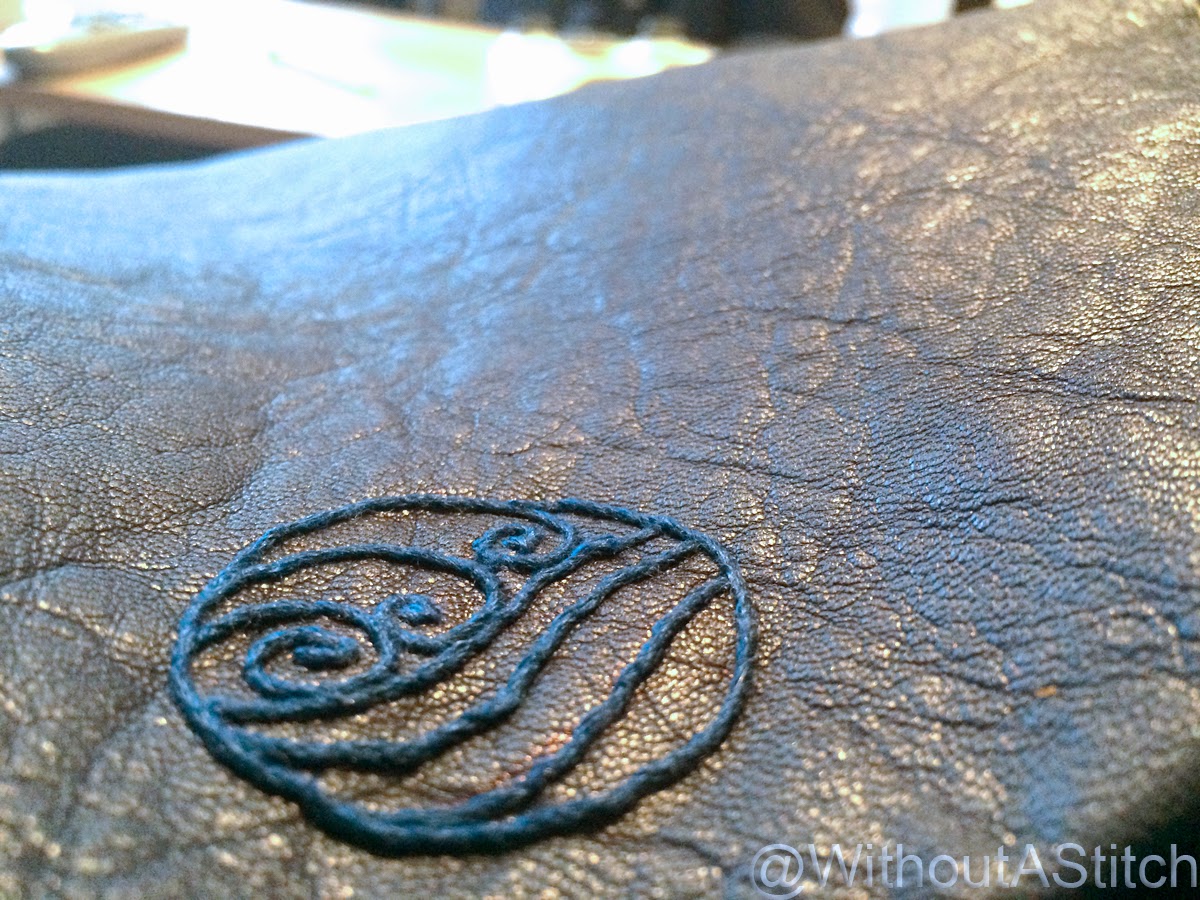
 And if you have blocked your project, these are shots of the sides you get-

 Awesome straight lines. Awesome perfect corners.
Your project is now ready to get laced, mounted and framed!

Words of Warning
This step is the biggest step that will set your project in ways that you cannot un-do. If you skipped the cleaning step, and there are some oils from your hands, stains from spills, or just tiny bits of dirt you can't see, then this step will SET THEM IN!!! Once ironed (or steamed if you choose to block it that way), you will NOT be able to get out something that should not be there simply by re-washing.
And even if other people can't see it, you'll know its there. You'll see it and realize that if you'd just taken a tiny bit of extra time that you could have had perfection. So if you've skipped the steps until now- I highly suggest you go back to Lesson 1 and clean your project. Trust me, its worth it not to cringe inside every time you look at something.
Things You'll Need (as in the above photo)
Your project- preferably cleaned and blocked already
Iron
Ironing board or surface padded to allow ironing
Clean Towel
The How-To
You don't want to iron directly onto your project as you want to avoid any possibility of making the threads/fabric discolour.
Set your iron to "Cotton" setting or high, but not highest if it doesn't distinguish by fabric type.
Run your towel under tap water and squeeze out excess water so that it is slightly damp.
Lay your project, on the ironing board and lay the towel on top of it.


Check your project at this point and see how it looks. If it needs more ironing, wet your towel and repeat the process.
And now to show you why you've done all of this. Here is a close up from the Tiger project.

As you might be able to tell, its a bit out of shape. This is how it looks after the blocking process- it was a lot worse before! Blocking and ironing work to loosen the tension of the fabric and thread just enough to relax it into better shapes.
Here is the same spot, after ironing.

The overall effect of this is the entire thing looks like its done by a pro! My project stitches look like I never flubbed up, had perfect tension, and am awesome.


Your project is now ready to get laced, mounted and framed!

Comments
Post a Comment